Most webcam problems are lighting problems in disguise. You can spend an evening in the camera settings and still look flat, orange or half in shadow, because the camera is doing its best with light that arrived in the wrong place. Fix the light and the settings tend to take care of themselves.
Nothing here needs a studio. A window, a desk lamp and twenty minutes of moving things around will get you most of the way.
Start with your key light
Your key light is the main source that lights your face. Everything else in the room supports it. For most home offices, the easiest key light is a window in front of you — not behind you, not off to one side, in front, so it falls on your face rather than the back of your head.
The classic position is roughly 45 degrees to one side and slightly above eye level. That gives gentle shading across the face, which reads as depth rather than shadow. A light dead centre and level with your eyes flattens everything. A light directly overhead puts dark hollows under your brow and nose, which is why a single ceiling light is often the worst option of all.
Using a window
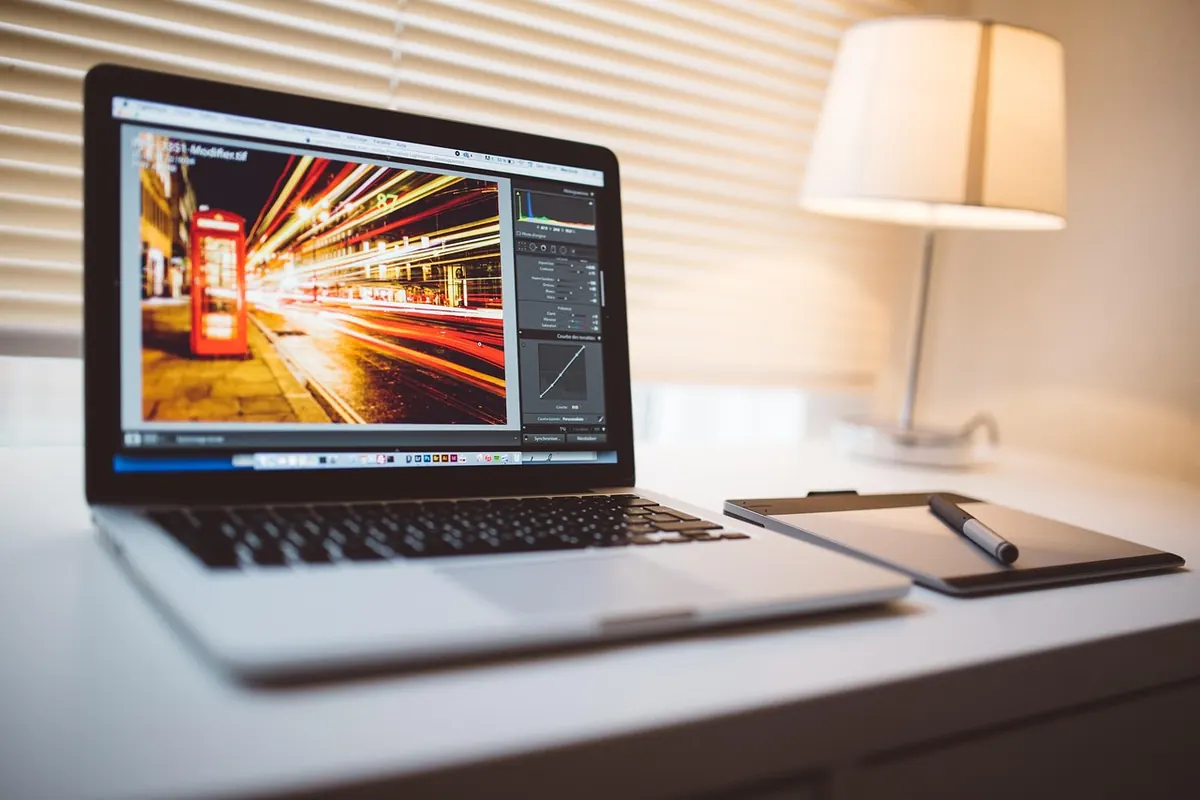
Facing a window works well on an overcast day, or on any day if you sit back from the glass and let the room do some of the diffusing. Direct sun is a different matter: it is harsh, it moves through the day, and it is usually far brighter than the camera can handle alongside your face. If sun lands on you, close a sheer blind or shift your desk around it.
Using a lamp
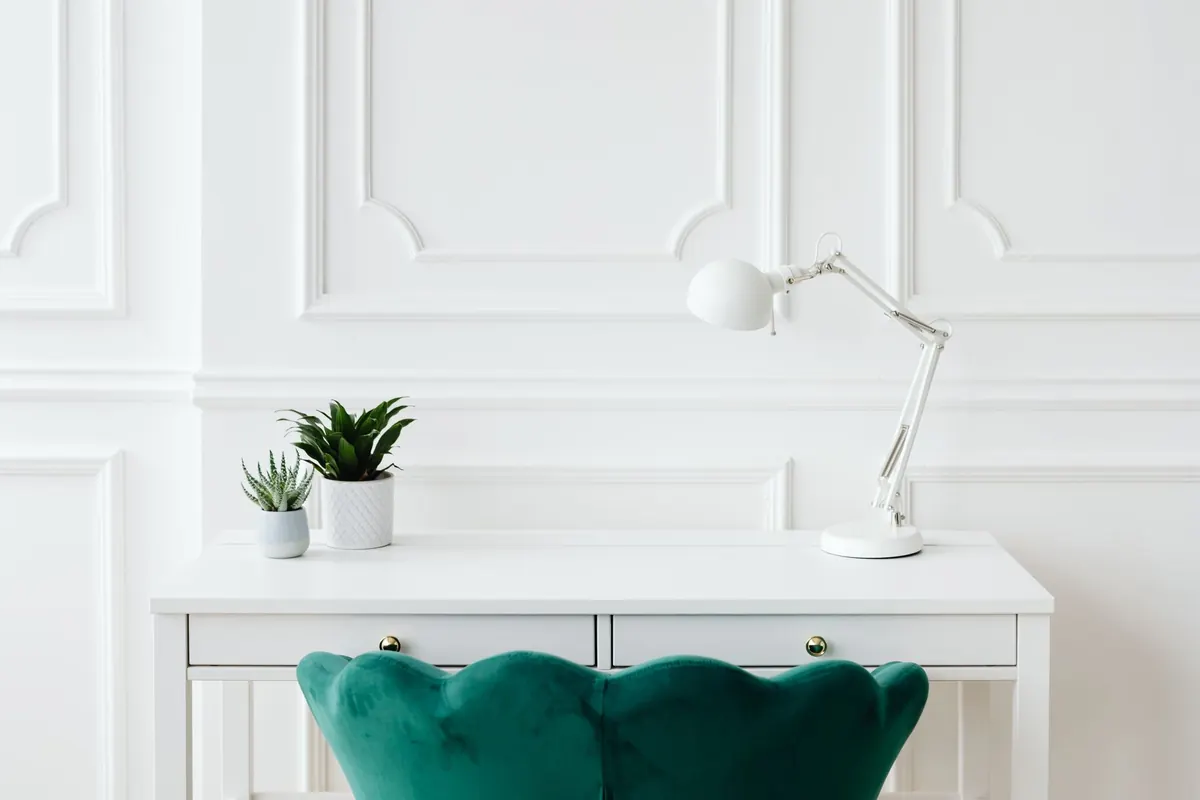
A desk lamp makes a reliable key light once you tame it. Look for one with a shade or a diffuser panel rather than a bare bulb, because a visible bulb creates hard-edged shadows and a hotspot on your skin. Put it at roughly 45 degrees to one side, just above eye height, about an arm's length away, and aim it across your face rather than straight at it. If the camera can see the bulb, it will also see the glare.
Match your colour temperature
Colour temperature is measured in kelvin, and mixing it is the fastest way to look unwell on camera. Roughly: 2700K is warm and amber, 4000K is neutral white, and 5000–6500K is daylight-like and slightly blue.
Your webcam's automatic white balance picks one reference point and corrects everything towards it. If a warm lamp lights one side of you and cool daylight comes through the window on the other, the camera splits the difference and you end up with an orange cheek and a blue one. The fix is simple: choose one dominant colour temperature and match everything else to it. If daylight leads, set your lamps to 4000K or daylight bulbs. In the evening, when the window is dim or covered, a warm 2700–3000K room is comfortable and kind to skin tones.
One thing to watch: coloured lighting behind you, however good it looks on the wall, spills onto your face and neck. Keep coloured accent lighting low, and keep the light doing the work on your face neutral.
Balance the background
Background balance is about two things: enough light on the wall that you do not read as a silhouette, and less light there than on your face. Cameras expose for the brightest part of the frame. Put a bright window behind your head and the camera will darken you to protect the window.
- Sit about a metre from the wall rather than right against it. Distance lets the light fall away and gives a sense of separation.
- Add a small lamp in the background, off to one side and angled at the wall, on a low setting.
- If you cannot move away from a bright window, cover it or move yourself. Closing a blind instantly fixes the worst backlighting.
- Keep bookshelves, plants and pictures softly lit rather than spotlit. Bright patches behind your head pull the eye away from you.
Cut glare from screens and glasses
Glare is any light arriving at the camera second-hand — bounced off your glasses, your monitor, a glossy desk, a picture frame. It reads as a white smudge, and it makes you look like you are speaking from behind a fog.
The rule that solves most of it: draw a line from the camera to your eyes and keep light sources away from that line. A lamp sitting just beside or behind the webcam is the worst place for it, because any reflection goes straight back down the lens. Move lights further to the side, and if you wear glasses, tilt them very slightly or angle your monitor down a few degrees so the reflection drops out of view.
Lowering screen brightness helps too, as does switching to a dark interface for calls. If a ceiling light is reflecting off your screen, turn it off and rely on your key light instead.
A two-minute check before your next call
- Open your camera preview, or record twenty seconds and watch it back.
- Check your eyes: two bright spots or a haze across your glasses means glare.
- Check your face: if one side is much darker, move the key light closer to the centre.
- Check for shadows under your eyes and nose. If they are heavy, raise the light or turn off the ceiling.
- Check the background: a blown-out white area needs a blind or a repositioned lamp.
- Check your skin tone for an orange or blue cast, and change the colour temperature of one source to match the other.
The simple version
Front light, or a diffused lamp at 45 degrees. One colour temperature across the room. A background a little dimmer than your face. No reflections on glasses or screens. That is the whole recipe, and it takes about ten minutes to set up.
Once it works, leave it alone. Tape a mark on the desk where the lamp sits, keep the blind at the same angle, and your calls will look consistent from week to week. That consistency matters more than most people expect, because a familiar, well-lit face is easier to talk to than a technically clever setup that changes every time.
Photo: Lalmch / Pixabay