A kitchen lit by one ceiling fitting looks flat, however good the fitting is. Stand at the worktop and you are working in your own shadow. Look up and the glare is unpleasant. Layering solves this by giving the room three separate jobs: light to see by, light to work by, and light to look at. Get those layers right, put them on separate controls, and the same room can be bright enough for chopping onions at seven and soft enough to sit in at nine.
Start with the ambient layer
Ambient light is the baseline: even, generous, and turned on first. In most kitchens that means downlights, or a mix of downlights and a ceiling pendant. The usual mistake is overdoing it. A grid of eight downlights in a small room is hard to dim comfortably later, and the ceiling starts to look like an airport lounge.
As a rule of thumb, a 2.4 m ceiling takes downlights spaced roughly 1 to 1.2 m apart, set about 60 to 75 cm out from the wall cabinets. Move any fitting that sits directly over your standing position at the worktop — 30 to 40 cm to one side is usually enough. That one adjustment stops your own head casting a shadow across the chopping board.
Stick to warm white, around 2700 to 3000K, and choose fittings with a high colour rendering index so vegetables look like vegetables rather than wax. If you can, buy slightly more light than you think you need and dim it down. Under-lit is hard to fix; over-lit is a dial away from comfortable.
Add task light where your hands actually work
Task lighting is the layer you never consciously notice, because it quietly removes the shadows your hands make. It belongs over the sink, the hob, the main prep run and anywhere you read a recipe.
Positioning under-cabinet lights
Run a strip or bar along the underside of every wall cabinet that sits above a worktop. Place it in the front third of the cabinet base rather than hard against the wall. From there the light falls forward across the worktop; tucked at the back, it leaves a bright strip at the skirting and shadow exactly where you are cutting.
Choose a fitting with an opal diffuser rather than exposed diodes. On polished quartz or dark granite, bare LEDs reflect as a row of bright points, which is the distraction you were trying to remove. If your units have a pelmet or light rail, use it — it hides the source and cuts glare at eye level.
Don't rely on the extractor
The light built into a cooker hood is often weak and positioned behind you, so it lights your shoulders rather than the pan. Check yours in the evening before you decide it is good enough. If you are replacing the hood, look for one with a proper LED strip across the front rather than a single bulb in the middle.
Hang pendants with the island, not the ceiling
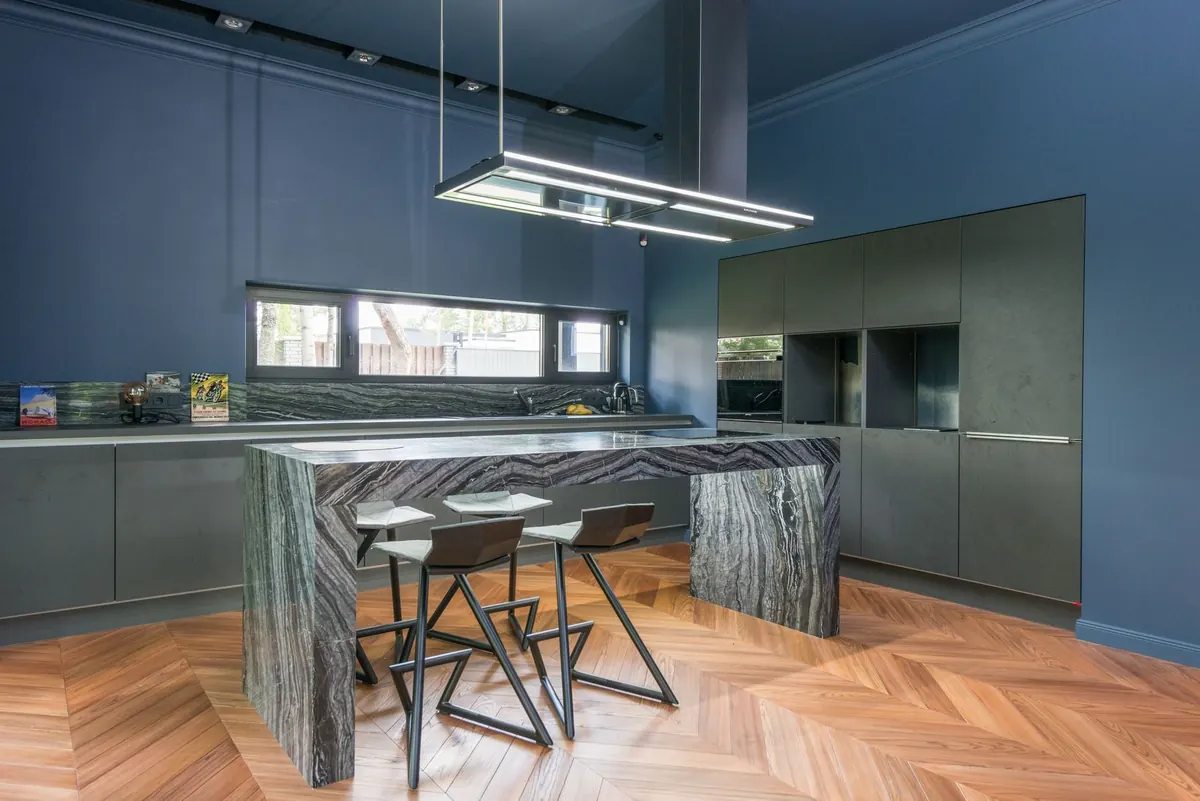
Pendants over an island or peninsula are doing two jobs: marking the social centre of the room and providing the task light for anyone sitting there. Two pendants suit an island around 1.8 m long; three suit 2.4 m or more; a single long linear fitting works well over a longer run.
Hang the bottom of the shade roughly 75 to 85 cm above the island top. That is high enough to clear a serving dish and low enough to feel deliberate. Then sit down at the island and look at the pendant opposite. If the bulb is at eye level, raise it. Nobody wants to eat dinner staring into a lamp.
Line the pendants up with the centre of the island and space them evenly along it. Judging the spacing by eye on the day rarely works; mark it on the ceiling before drilling.
Use accent light sparingly
Accent is the layer that makes a kitchen look considered rather than merely finished: a strip under a floating shelf, hidden light inside glass-fronted cabinets, a low glow along the plinth, or a linear grazer washing light up a splashback. One or two of these is plenty. All of them at once turns the room into a showroom.
Accent also earns its keep as a night layer. Wired so it can come on alone at low output, it gives you enough light to fetch a glass of water without waking the whole house.
Get the dimming and switching right
Dimmers are where layering succeeds or fails. If the whole kitchen is on one dimmer, you cannot have bright task light over the hob and a low ambient glow at the same time — which is the entire point of layering.
- One dimmer per layer. Ambient, task and accent should each be independently adjustable.
- Check compatibility. LEDs need a dimmer designed for them, usually a trailing-edge type, and the driver inside the fitting must be dimmable.
- Watch the minimum load. Many dimmers need a minimum load to behave; a single small LED can sit below it and flicker or drop out. Grouping the fittings in a zone usually sorts this.
- Match fittings within a zone. Different makes and models dim at different rates, so one run will lag behind another.
- Plan switch positions. A plate at each doorway, plus a second point near the sink or the island, saves a lot of walking.
If you want scenes, app control or sensors — a door switch on a pantry, a movement sensor in a utility corner — decide now. It changes the cable routes, and retrofitting after the walls are closed is far more disruptive.
Sequence the work before the ceiling goes up
Lighting is much easier to plan than to correct, so work in this order:
- Sketch the room and mark where you stand: sink, hob, main prep run, island seating.
- Assign a layer to each of those positions, then group them into switch and dimmer zones.
- Check the practicalities — joist direction, cabinet depth, hood position, window reveals, ceiling height.
- Bring in a registered electrician early. Anything beyond a like-for-like swap is their job, and some electrical work is notifiable, so check the rules that apply where you live.
- Buy fittings that match within each zone, and confirm dimmer compatibility before ordering rather than after.
- First fix the cabling, then second fix, then set the levels at night in a room that is actually being used.
Then test it properly. Cook a full meal, eat at the island, and walk in at midnight without turning on the main lights. If each of those feels right, the layers are doing their job.
Photo: Max Vakhtbovych / Pexels